CSS-only Tic-Tac-Toe Game

Motivation
For this week, I wanted to do something a little more fun, and a little less useful than usual. So, we’re going to build a simple Tic-Tac-Toe game using only CSS and HTML. It will have all the usual features like a turn indicator, win detection, tie detection, restart functionality, and some simple graphics.
This simple game demonstrates the beauty of a well defined state machine. No explicit conditionals, no manual event tracking, and no manually updating the DOM.
Here’s what we’ll be making - should be fun!
States
CSS is basically a large state machine. You can define hundreds or thousands of states that are valid for specific elements as well as how the browser should transition between them based on mouse position, time, browser dimensions, container size, available fonts, etc.
Tic-Tac-Toe (or noughts and crosses, Xs and Os, or whatever you prefer) is a game where users alternate placing pieces on a 3x3 grid, with the goal being to get 3 of their token in a row.
As with most games, if we break the game down we’ll see that it is essentially made up of states with rules governing the transition between states. We’ll use common form elements to maintain our state during play.
Checkboxes
In HTML, we have checkboxes, which are perfect for holding a boolean state. They are also easily selected with CSS using :checked. We’ll use quite a few of these to maintain various states in this project.
If you’ve been following along with Unorthodocss, we’ll use several of the same techniques we used in the CSS-only Carousel post from a few weeks back. Conditionally styled labels will indicate the state to the user, and will handle setting the state of the checkboxes when clicked.
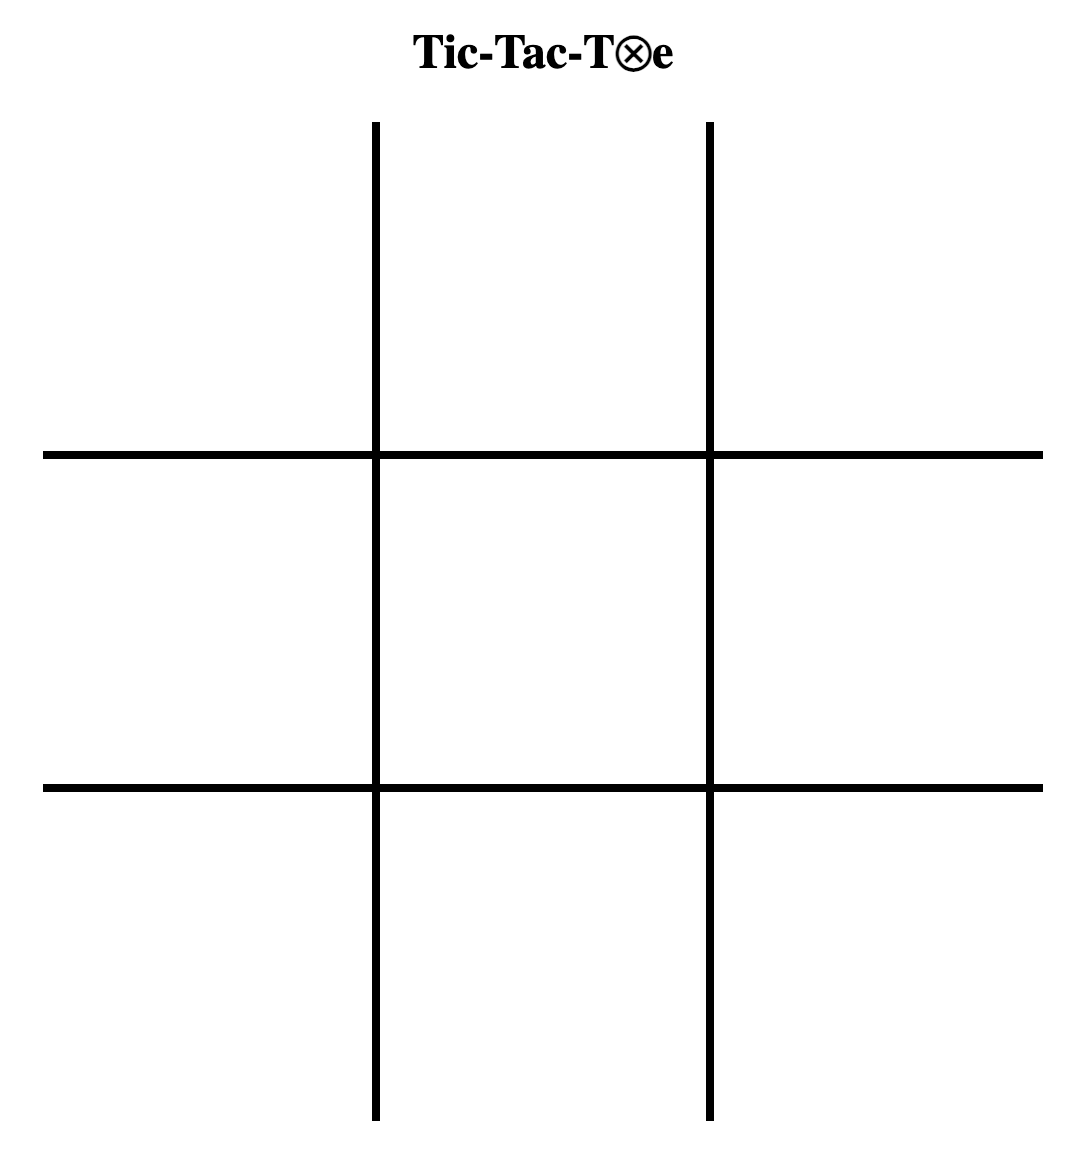
The Board
Here’s some basic HTML to get us started with a basic Tic-Tac-Toe board.
<body>
  <h2>Tic-Tac-T⊗e</h2>
  <form>
    <div class="board">
      <div class="cell"></div>
      <div class="cell"></div>
      <div class="cell"></div>

      <div class="cell"></div>
      <div class="cell"></div>
      <div class="cell"></div>

      <div class="cell"></div>
      <div class="cell"></div>
      <div class="cell"></div>
    </div>
  </form>
</body>
And some base styles:
body {
  display: flex;
  justify-content: center;
  align-items: center;
  height: 100vh;
  width: 100vw;
  margin: 0;
  flex-direction: column;
}

.board {
  display: grid;
  grid-template-columns: repeat(3, 1fr);
  grid-template-rows: repeat(3, 1fr);
  aspect-ratio: 1 / 1;
  width: 60vmin;
}

form {
  position: relative;
}

input[type="checkbox"] {
  display: none;
}

.cell {
  border: 2px solid black;
  position: relative;
}

.cell:nth-child(3n) {
  border-right: none;
}

.cell:nth-child(3n+1) {
  border-left: none;
}

.cell:nth-child(n+7) {
  border-bottom: none;
}

.cell:nth-child(-n+3) {
  border-top: none;
}
Here’s our basic game board. Next we should add some UI indicators for the players so they know what to do.
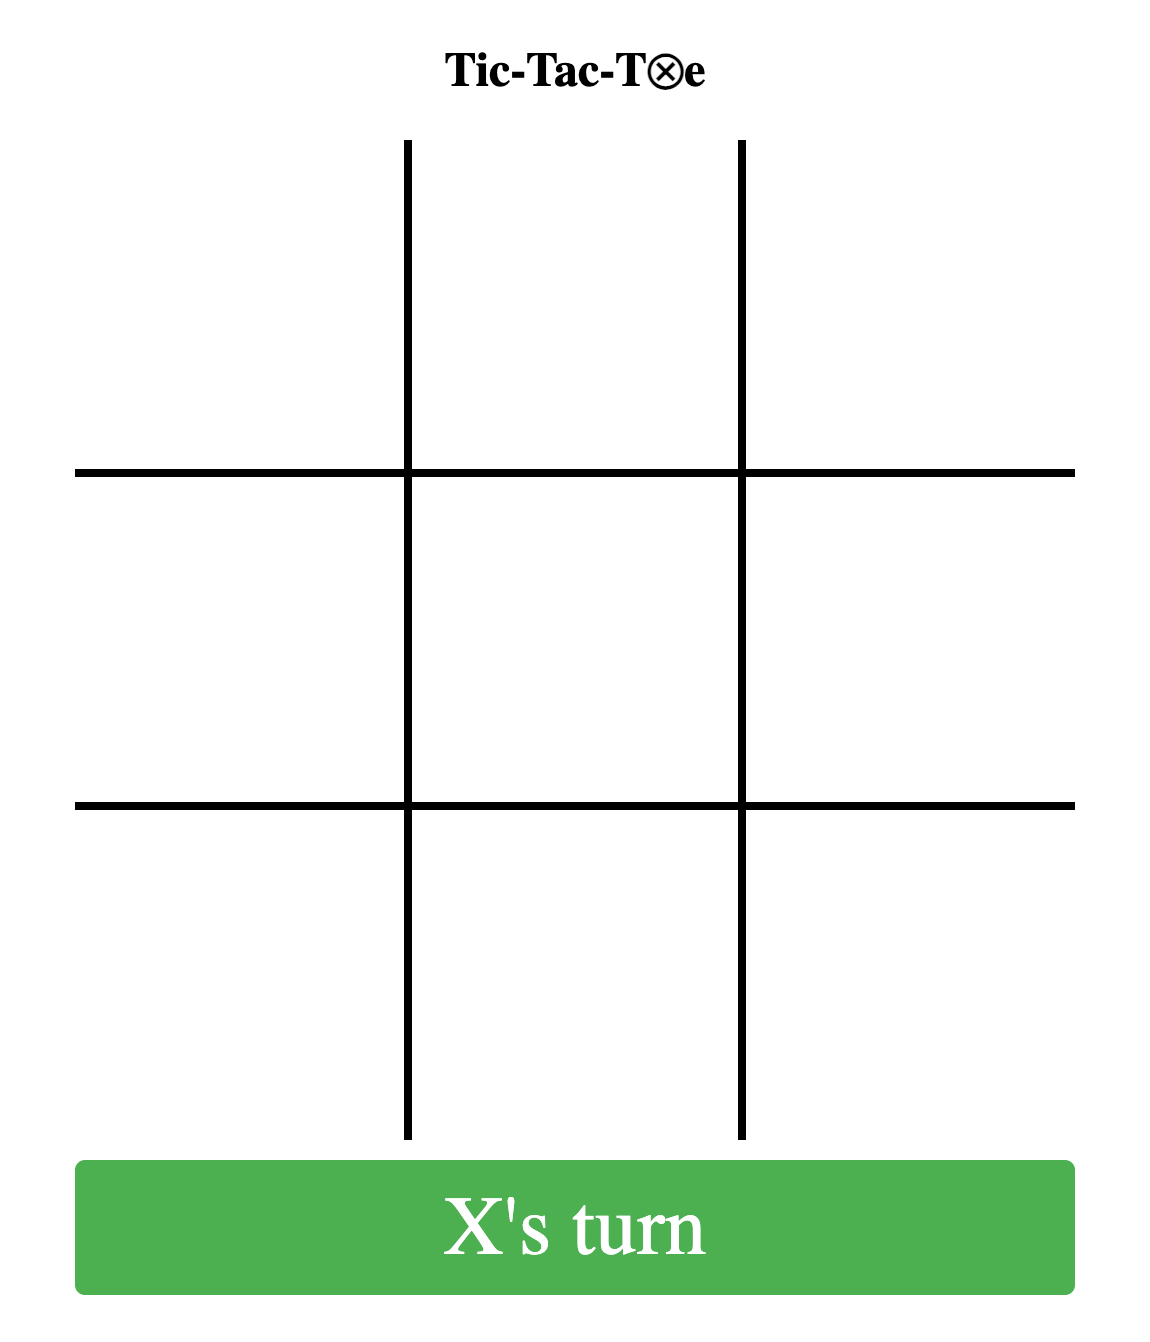
Player UI
We’ll need to inform the players what state the game board is in. For instance, which squares are X’s, which are O’s, which are available for claiming, whose turn it is to place their token, if a player has won, or if it’s a tie game.
Let’s start with some message div’s right after the .board element to inform the players of a few of these:
  <div class="x-turn-message">X's turn</div>
  <div class="o-turn-message">O's turn</div>
  <div class="x-win-message">X wins! <button type="reset">Play Again</button></div>
  <div class="o-win-message">O wins! <button type="reset">Play Again</button></div>
  <div class="draw-message">Draw! <button type="reset">Play Again</button></div>
and here’s some styles to set their default state
button {
  background-color: #ffeb3b;
  color: black;
  border-radius: 5px;
  font-size: 2vmin;
  justify-content: center;
  align-items: center;
  appearance: none;
  border: none;
  cursor: pointer;
  padding: 1vmin 3vmin;
  margin-top: 3vmin;
}

.x-turn-message {
  display: flex;
}
.o-turn-message, .x-win-message, .o-win-message, .draw-message {
  display: none;
}
.x-turn-message, .o-turn-message {
  background-color: #4caf50;
  color: white;
  padding: 10px;
  border-radius: 5px;
  margin-top: 10px;
  font-size: 5vmin;
  justify-content: center;
  align-items: center;
}

.x-win-message, .o-win-message, .draw-message {
  position: absolute;
  top: 0;
  z-index: 4;
  background-color: rgba(255, 255, 255, .6);
  left: 0;
  width: 100%;
  height: 100%;
  align-items: center;
  justify-content: center;
  flex-direction: column;
  font-size: 4vmin;
}
Board Cells
Now we’re getting into the real game. The players now know it’s X’s turn to place an X. Since we’re going to be storing state in checkboxes, let’s create two for each cell - one to indicate the cell contains an X and one to indicate the cell contains an O.
<input type="checkbox" data-cell="x0" id="x0"/>
<input type="checkbox" data-cell="x1" id="x1"/>
<input type="checkbox" data-cell="x2" id="x2"/>
<input type="checkbox" data-cell="x3" id="x3"/>
<input type="checkbox" data-cell="x4" id="x4"/>
<input type="checkbox" data-cell="x5" id="x5"/>
<input type="checkbox" data-cell="x6" id="x6"/>
<input type="checkbox" data-cell="x7" id="x7"/>
<input type="checkbox" data-cell="x8" id="x8"/>

<input type="checkbox" data-cell="o0" id="o0"/>
<input type="checkbox" data-cell="o1" id="o1"/>
<input type="checkbox" data-cell="o2" id="o2"/>
<input type="checkbox" data-cell="o3" id="o3"/>
<input type="checkbox" data-cell="o4" id="o4"/>
<input type="checkbox" data-cell="o5" id="o5"/>
<input type="checkbox" data-cell="o6" id="o6"/>
<input type="checkbox" data-cell="o7" id="o7"/>
<input type="checkbox" data-cell="o8" id="o8"/>
It’s very important to make sure these checkboxes are siblings to the .board element. Put this right before the board so we can use :checked to select checkboxes and then ~ to select the sibling .board element to show the Xs and Os on the board based on the checked-ness of the inputs.
Let’s adjust our markup for the board from earlier to add labels for these new inputs
<div class="board">
  <div class="cell"><label for="o0">?</label><label for="x0">?</label></div>
  <div class="cell"><label for="o1">?</label><label for="x1">?</label></div>
  <div class="cell"><label for="o2">?</label><label for="x2">?</label></div>

  <div class="cell"><label for="o3">?</label><label for="x3">?</label></div>
  <div class="cell"><label for="o4">?</label><label for="x4">?</label></div>
  <div class="cell"><label for="o5">?</label><label for="x5">?</label></div>

  <div class="cell"><label for="o6">?</label><label for="x6">?</label></div>
  <div class="cell"><label for="o7">?</label><label for="x7">?</label></div>
  <div class="cell"><label for="o8">?</label><label for="x8">?</label></div>
</div>
With a few styles, we’ll make the ?? that we currently see in the cells into clickable labels to set the checkboxes.
.cell label {
  position: absolute;
  top: 0;
  left: 0;
  width: 100%;
  height: 100%;
  background-color: #f3f3f3;
  display: flex;
  justify-content: center;
  align-items: center;
  font-size: 20px;
  font-weight: bold;
  cursor: pointer;
  z-index: 1;
  color: lightgray;
}

.cell label:hover {
  background-color: #ddd;
}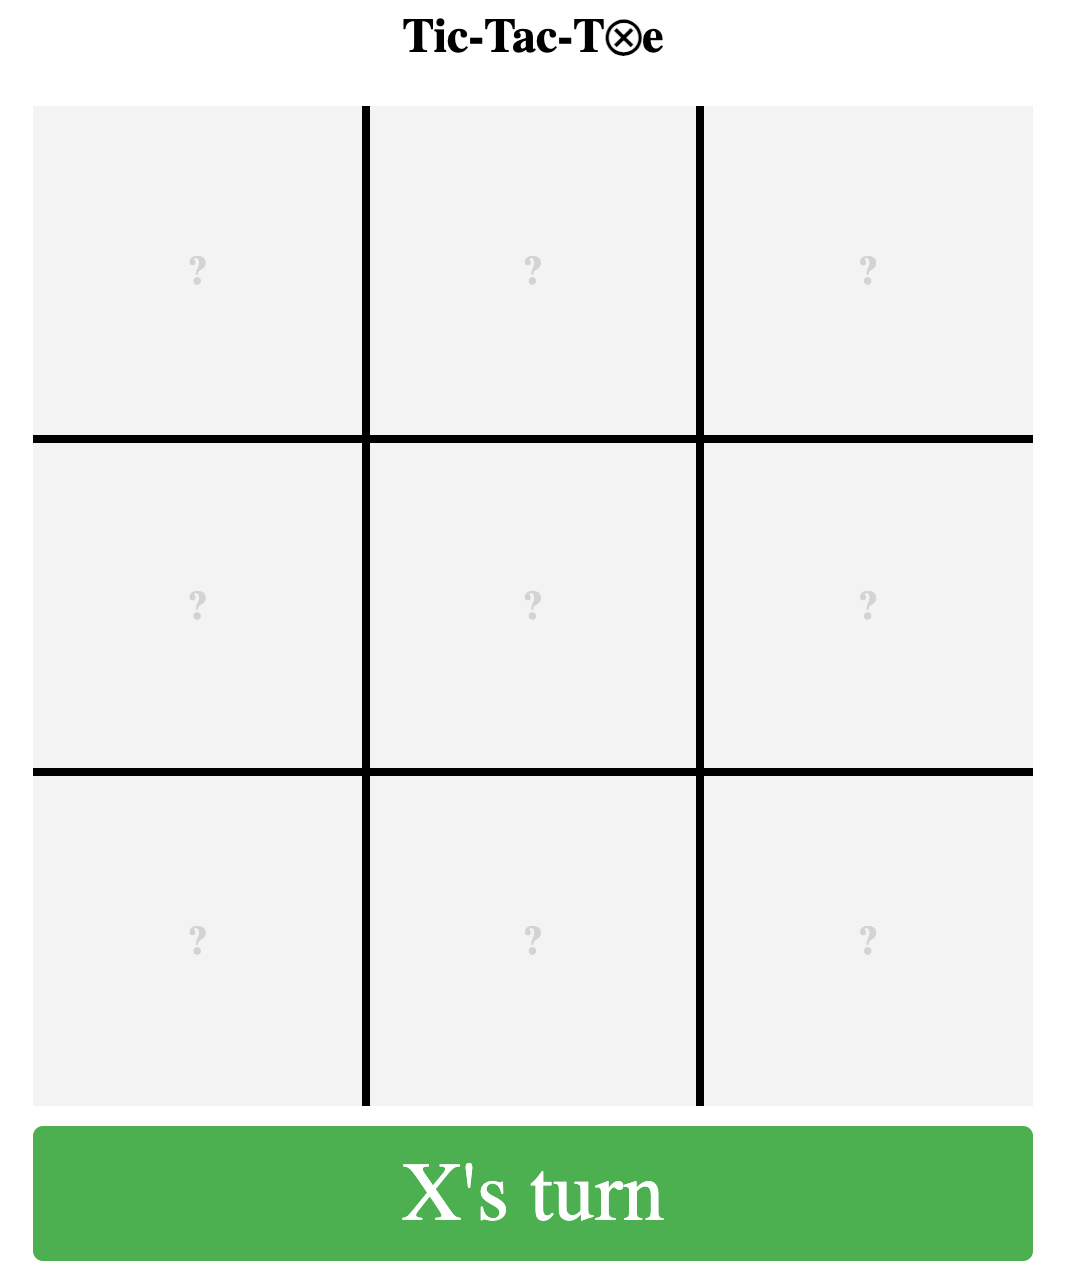
The ? that we see in each square is the label for the corresponding X checkbox, with the convention x0 is the upper left, x2 is in the upper right and so on, making x8 in the lower right.
Styling X’s and O’s
Now we really need styles to indicate which checkboxes are checked. If you click on a square right now, the checkbox will be checked, but the label in the square will not be changed.
input[data-cell="x0"]:checked ~ .board .cell:nth-child(1):after,
input[data-cell="x1"]:checked ~ .board .cell:nth-child(2):after,
input[data-cell="x2"]:checked ~ .board .cell:nth-child(3):after,
input[data-cell="x3"]:checked ~ .board .cell:nth-child(4):after,
input[data-cell="x4"]:checked ~ .board .cell:nth-child(5):after,
input[data-cell="x5"]:checked ~ .board .cell:nth-child(6):after,
input[data-cell="x6"]:checked ~ .board .cell:nth-child(7):after,
input[data-cell="x7"]:checked ~ .board .cell:nth-child(8):after,
input[data-cell="x8"]:checked ~ .board .cell:nth-child(9):after
{
  content: '⤫';
  position: absolute;
  top: 0;
  left: 0;
  width: 100%;
  height: 100%;
  background-color: #00bcd4;
  display: flex;
  justify-content: center;
  align-items: center;
  color: white;
  z-index: 3;
  font-size: 20vmin;
  line-height: 20vmin;
}
input[data-cell="o0"]:checked ~ .board .cell:nth-child(1):after,
input[data-cell="o1"]:checked ~ .board .cell:nth-child(2):after,
input[data-cell="o2"]:checked ~ .board .cell:nth-child(3):after,
input[data-cell="o3"]:checked ~ .board .cell:nth-child(4):after,
input[data-cell="o4"]:checked ~ .board .cell:nth-child(5):after,
input[data-cell="o5"]:checked ~ .board .cell:nth-child(6):after,
input[data-cell="o6"]:checked ~ .board .cell:nth-child(7):after,
input[data-cell="o7"]:checked ~ .board .cell:nth-child(8):after,
input[data-cell="o8"]:checked ~ .board .cell:nth-child(9):after
{
  content: '○';
  position: absolute;
  top: 0;
  left: 0;
  width: 100%;
  height: 100%;
  background-color: #00bcd4;
  display: flex;
  justify-content: center;
  align-items: center;
  color: white;
  z-index: 3;
  font-size: 20vmin;
  line-height: 20vmin;
}
This basically defines the state of every cell on the board. If X’s top left checkbox is :checked ([data-cell="x0"]) then select the sibling .board element and style its first cell (:nth-child(1)) to contain a visual X. It does the same for all positions of Xs and Os. This has the convenient side-effect of also covering up both labels underneath it, so the square cannot be clicked again.
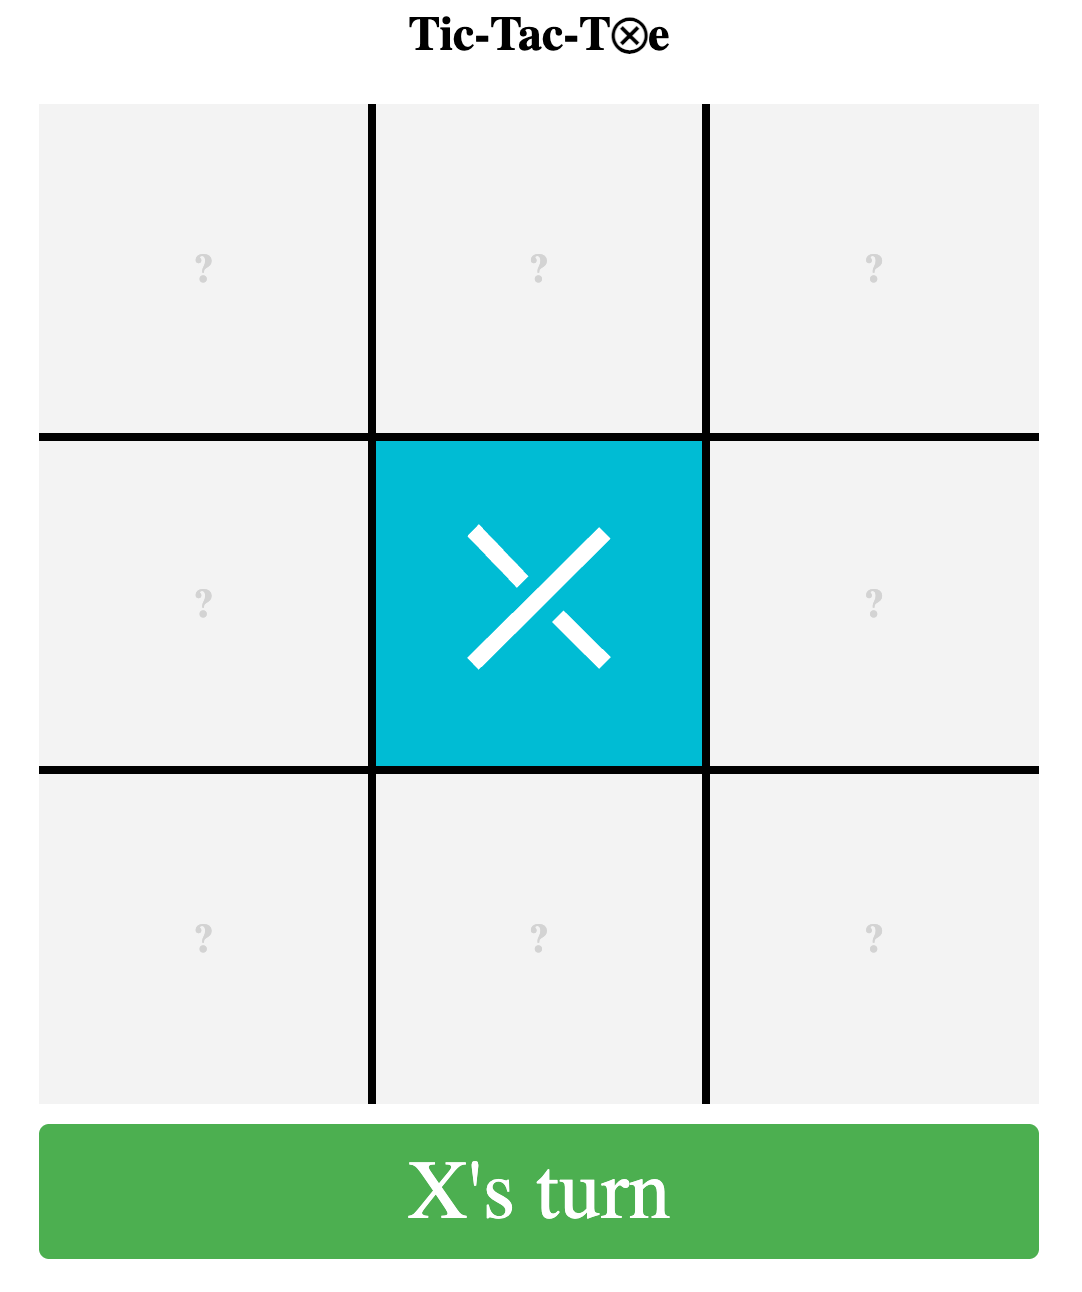
Now, go ahead and click a square to place an X!
You’ll notice though, that the indicator at the bottom didn’t update to say it is O’s turn. Let’s fix that.
Detecting Turns
Tic-Tac-Toe is a simple enough game, that you can always tell whose turn it is just by looking at the board. Since (in our implementation) X always goes first, we know there will never be more Os than Xs. If there’s the same number of Os and Xs, it’s X’s turn. If there’s more X’s, it’s O’s turn.
Here’s how we can capture that logic in CSS:
/* 8 empty cells = o turn */
input[data-cell^="x"]:checked {
  & ~ .o-turn-message { display: flex; }
  & ~ .x-turn-message { display: none; }
  & ~ .board label[for^="o"] { display: flex; }
  & ~ .board label[for^="x"] { display: none; }
}
Initially, it will be X’s turn, but after X selects a square, an ‘x’ checkbox will be checked.
This CSS checks if there’s an ‘x’ checkbox that’s selected, then styles the messages to appear correctly. It also shows/hides the correct labels, so now all the cells are only showing the labels for the O checkboxes. The next click on the board will check a checkbox in the ‘O’ section.
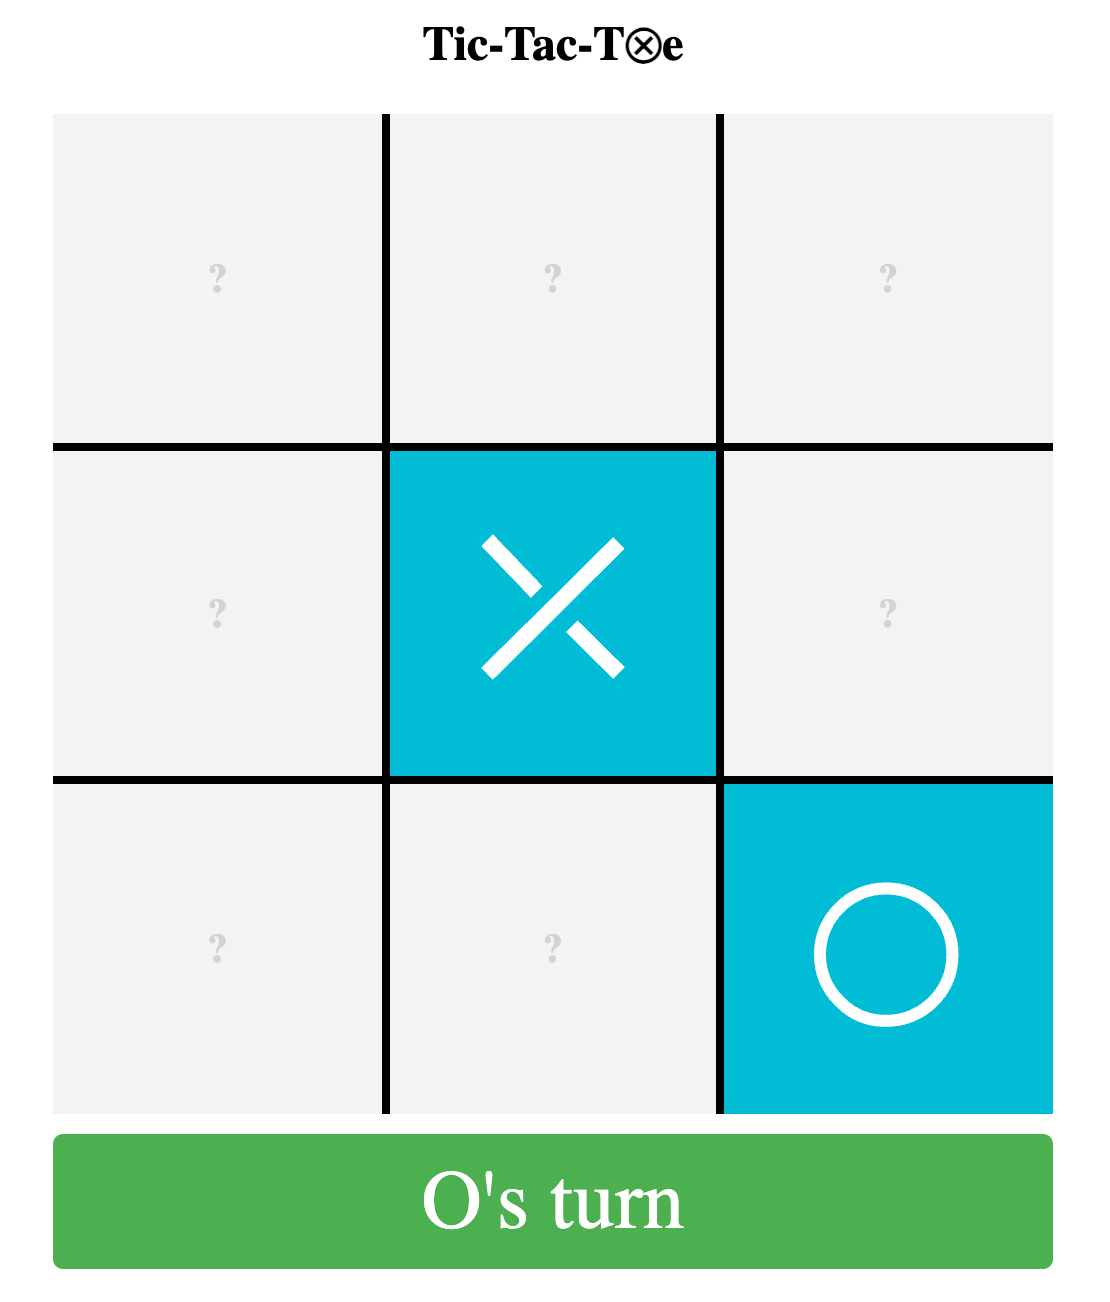
Go ahead and try it now, and you’ll see the X is placed, and the message now says it’s O’s turn. Try placing and O and you’ll see the O gets placed! Nice, it’s kinda feeling like a game now.
But we still need to define what happens after O selects their first square. We’ll continue the pattern, but this time we’ll check if there’s an ‘x’ checkbox that is checked, and an ‘o’ checkbox that is checked. Then we’ll check if there’s two ‘x’ checkboxes checked and a single ‘o’ that is checked, etc.
/* 7 empty cells = x turn */
input[data-cell^="x"]:checked ~ input[data-cell^="o"]:checked {
  & ~ .o-turn-message { display: none; }
  & ~ .x-turn-message { display: flex; }
  & ~ .board label[for^="o"] { display: none; }
  & ~ .board label[for^="x"] { display: flex; }
}

/* 6 empty cells = o turn */
input[data-cell^="x"]:checked ~ input[data-cell^="x"]:checked ~
input[data-cell^="o"]:checked {
  & ~ .o-turn-message { display: flex; }
  & ~ .x-turn-message { display: none; }
  & ~ .board label[for^="o"] { display: flex; }
  & ~ .board label[for^="x"] { display: none; }
}

/* 5 empty cells = x turn */
input[data-cell^="x"]:checked ~ input[data-cell^="x"]:checked ~
input[data-cell^="o"]:checked ~ input[data-cell^="o"]:checked {
  & ~ .o-turn-message { display: none; }
  & ~ .x-turn-message { display: flex; }
  & ~ .board label[for^="o"] { display: none; }
  & ~ .board label[for^="x"] { display: flex; }
}

/* 4 empty cells = o turn */
input[data-cell^="x"]:checked ~ input[data-cell^="x"]:checked ~
input[data-cell^="x"]:checked ~ input[data-cell^="o"]:checked ~
input[data-cell^="o"]:checked {
  & ~ .o-turn-message { display: flex; }
  & ~ .x-turn-message { display: none; }
  & ~ .board label[for^="o"] { display: flex; }
  & ~ .board label[for^="x"] { display: none; }
}

/* 3 empty cells = x turn */
input[data-cell^="x"]:checked ~ input[data-cell^="x"]:checked ~
input[data-cell^="x"]:checked ~ input[data-cell^="o"]:checked ~
input[data-cell^="o"]:checked ~ input[data-cell^="o"]:checked {
  & ~ .o-turn-message { display: none; }
  & ~ .x-turn-message { display: flex; }
  & ~ .board label[for^="o"] { display: none; }
  & ~ .board label[for^="x"] { display: flex; }
}

/* 2 empty cells = o turn */
input[data-cell^="x"]:checked ~ input[data-cell^="x"]:checked ~
input[data-cell^="x"]:checked ~ input[data-cell^="x"]:checked ~
input[data-cell^="o"]:checked ~ input[data-cell^="o"]:checked ~
input[data-cell^="o"]:checked {
  & ~ .o-turn-message { display: flex; }
  & ~ .x-turn-message { display: none; }
  & ~ .board label[for^="o"] { display: flex; }
  & ~ .board label[for^="x"] { display: none; }
}

/* 1 empty cell = x turn */
input[data-cell^="x"]:checked ~ input[data-cell^="x"]:checked ~
input[data-cell^="x"]:checked ~ input[data-cell^="x"]:checked ~
input[data-cell^="o"]:checked ~ input[data-cell^="o"]:checked ~
input[data-cell^="o"]:checked ~ input[data-cell^="o"]:checked {
  & ~ .o-turn-message { display: none; }
  & ~ .x-turn-message { display: flex; }
  & ~ .board label[for^="o"] { display: none; }
  & ~ .board label[for^="x"] { display: flex; }
}
This is why it was so important to have the checkboxes right before the .board element, with all the X checkboxes first, followed by the O checkboxes. Now the turn indicator always shows the correct message, and also allows alternating X and O checkboxes to be selected by hiding and showing the appropriate labels based on the turn.
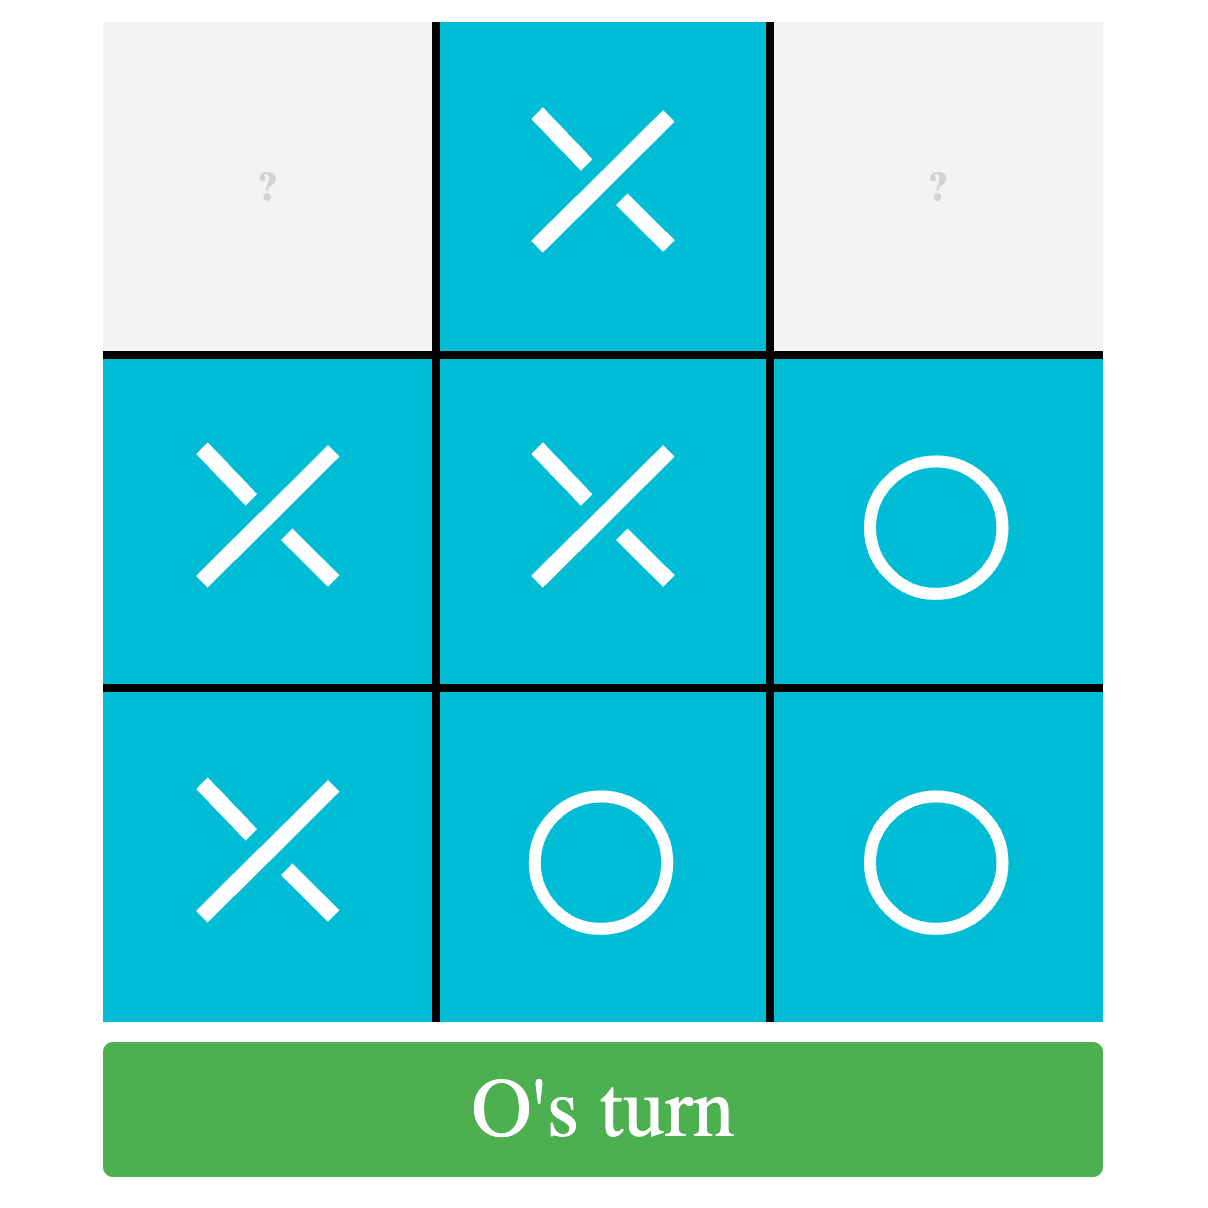
Win States
Now the game is fully playable! But we’re relying on the players to determine who wins when which, depending on who you’re playing with, could be unreliable. Since there are only 8 ways to win in Tic-Tac-Toe it’s easy enough to enumerate them in CSS. Here’s which checkboxes coorelate to our board squares:
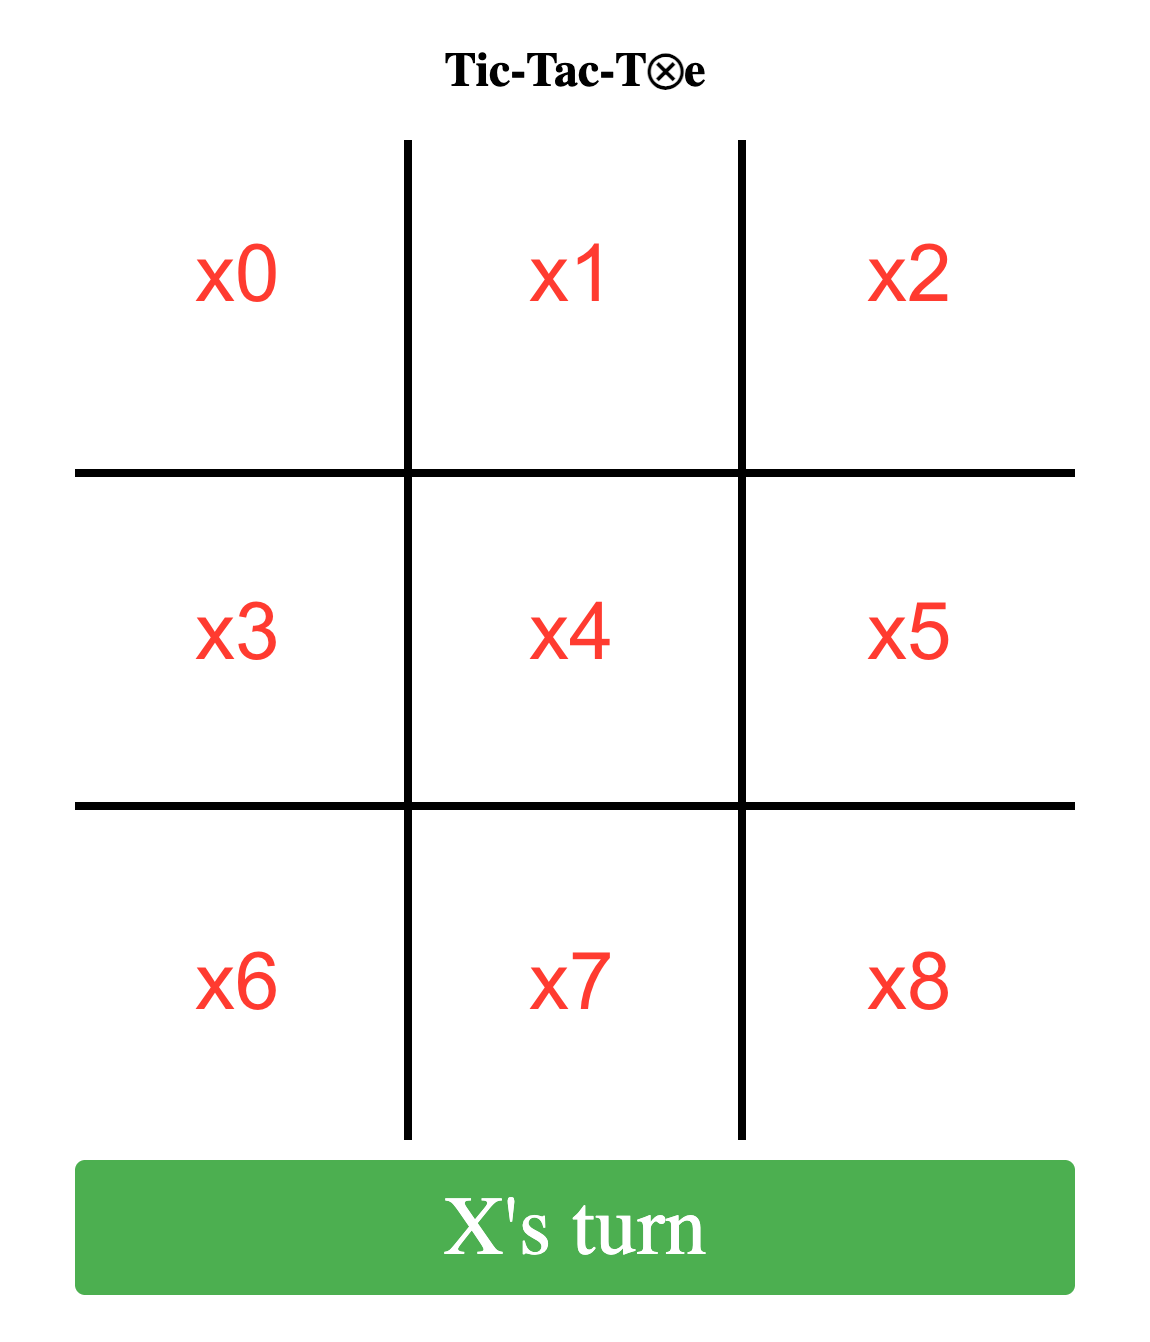
The horizontal win states are x0, x1, x2, x3, x4, x5, x6, x7, x8.
The vertical win states are x0, x3, x6, x1, x4, x7, x2, x5, x8.
The diagonal win states are x0, x4, x8, x2, x4, x6.
/* X wins */
input[data-cell="x0"]:checked ~ input[data-cell="x1"]:checked ~ input[data-cell="x2"]:checked,
input[data-cell="x3"]:checked ~ input[data-cell="x4"]:checked ~ input[data-cell="x5"]:checked,
input[data-cell="x6"]:checked ~ input[data-cell="x7"]:checked ~ input[data-cell="x8"]:checked,
input[data-cell="x0"]:checked ~ input[data-cell="x3"]:checked ~ input[data-cell="x6"]:checked,
input[data-cell="x1"]:checked ~ input[data-cell="x4"]:checked ~ input[data-cell="x7"]:checked,
input[data-cell="x2"]:checked ~ input[data-cell="x5"]:checked ~ input[data-cell="x8"]:checked,
input[data-cell="x0"]:checked ~ input[data-cell="x4"]:checked ~ input[data-cell="x8"]:checked,
input[data-cell="x2"]:checked ~ input[data-cell="x4"]:checked ~ input[data-cell="x6"]:checked {
  & ~ .x-win-message { display: flex !important; }
  & ~ .o-win-message { display: none !important; }
  & ~ .draw-message { display: none !important; }
  & ~ .o-turn-message { display: none !important; }
  & ~ .x-turn-message { display: none !important; }
  & ~ .board { pointer-events: none !important; }
}

/* O wins */
input[data-cell="o0"]:checked ~ input[data-cell="o1"]:checked ~ input[data-cell="o2"]:checked,
input[data-cell="o3"]:checked ~ input[data-cell="o4"]:checked ~ input[data-cell="o5"]:checked,
input[data-cell="o6"]:checked ~ input[data-cell="o7"]:checked ~ input[data-cell="o8"]:checked,
input[data-cell="o0"]:checked ~ input[data-cell="o3"]:checked ~ input[data-cell="o6"]:checked,
input[data-cell="o1"]:checked ~ input[data-cell="o4"]:checked ~ input[data-cell="o7"]:checked,
input[data-cell="o2"]:checked ~ input[data-cell="o5"]:checked ~ input[data-cell="o8"]:checked,
input[data-cell="o0"]:checked ~ input[data-cell="o4"]:checked ~ input[data-cell="o8"]:checked,
input[data-cell="o2"]:checked ~ input[data-cell="o4"]:checked ~ input[data-cell="o6"]:checked {
  & ~ .o-win-message { display: flex !important; }
  & ~ .x-win-message { display: none !important; }
  & ~ .draw-message { display: none !important; }
  & ~ .o-turn-message { display: none !important; }
  & ~ .x-turn-message { display: none !important; }
  & ~ .board { pointer-events: none !important; }
}
When a win state is detected, we’ll hide the turn message, and show the appropriate win message. You may have noticed all those !important modifiers in there. Here’s why - a game can end with the board completely full, which is also the state for a ‘Cat’ or a tied-game. We need one of the ‘filled board’ states to win specificity, and it should always be a win-state if one exists. Speaking of a tie-game, here’s the styles for that:
/* 0 empty cells = draw */
input[data-cell^="x"]:checked ~ input[data-cell^="x"]:checked ~
input[data-cell^="x"]:checked ~ input[data-cell^="x"]:checked ~
input[data-cell^="x"]:checked ~ input[data-cell^="o"]:checked ~
input[data-cell^="o"]:checked ~ input[data-cell^="o"]:checked ~
input[data-cell^="o"]:checked {
  & ~ .o-win-message { display: none; }
  & ~ .x-win-message { display: none; }
  & ~ .draw-message { display: flex; }
  & ~ .o-turn-message { display: none; }
  & ~ .x-turn-message { display: none; }
  & ~ .board { pointer-events: none; }
}
And now find a neighbor, co-worker, or family member and play your first CSS-only game of Tic-Tac-Toe!
Since all the UI is based off which checkboxes are selected, a reset button in the form will clear everything to the default state, ready for another game to begin.
Conclusion
This could get much fancier, with maybe custom cursors to show which shape will be placed, breaking the win detection into 8 different selectors so the winning 3 squares can be highlighted, better graphics, or maybe adding some animations. However, this seemed a good stopping spot.
You can view the CSS-only Tic-Tac-Toe Game or you can check out the CSS-only Tic-Tac-Toe Game repo on Github.